How to propagate plants from cuttings step by step is a valuable skill for anyone wanting to grow thriving greenery at home. This method allows you to create new plants from existing ones, saving money and expanding your garden. It’s a rewarding way to connect with nature and nurture your green space.
Understanding the basics of propagation helps you provide the right care for your cuttings, increasing their chances of success. From choosing the right stems to preparing them properly, each step plays an important role. With patience and practice, you’ll see new roots and growth in no time.
In this article, you’ll discover simple and clear instructions to master plant propagation from cuttings. Whether you’re a beginner or looking to improve your skills, these tips will guide you through the process. Get ready to enjoy a flourishing collection of healthy plants.
Key takeaways
- Choose the right type of cutting based on the plant and season.
- Create a suitable environment with proper humidity and light for successful rooting.
- Be patient and monitor your cuttings as they establish roots before transplanting.
Understanding propagation by cuttings
Propagation by cuttings is basically making new plants from pieces of an existing one. It’s like plant cloning, which is kinda cool when you think about it. I’ve had some real successes (and some epic fails, let me tell you) using this method. It’s a great way to get more of your favorite plants without spending a ton of money. Plus, it’s just plain fun to watch those little cuttings grow into something bigger.
Types of cuttings and optimal timing
There are several types of cuttings you can take, and the best time to do it really depends on the plant. Softwood cuttings, which come from new growth in the spring, root pretty quickly. I’ve had good luck with these. Then you’ve got hardwood cuttings, which you take from dormant plants in late fall or winter. These take longer to root, but they’re usually pretty sturdy once they get going.
Semi-hardwood cuttings are taken in late summer or early fall, when the growth has started to mature a bit. And don’t forget about herbaceous cuttings, which come from non-woody plants. Honestly, it can be a bit confusing at first, but once you get the hang of it, it’s not too bad. Here’s a quick rundown:
- Softwood Cuttings: Spring; new growth; fast rooting.
- Semi-hardwood Cuttings: Late summer/early fall; partially mature growth.
- Hardwood Cuttings: Late fall/winter; dormant plants; slow rooting.
- Herbaceous Cuttings: Spring/Summer; non-woody plants.
Preparing for successful propagation
Alright, so you’re ready to get serious about propagating from cuttings? Awesome! This part is all about setting yourself up for success. Trust me, a little prep work goes a long way. I’ve learned that the hard way, believe me. Let’s get into it.
Gathering necessary supplies
Okay, first things first: you gotta have the right tools. It’s like trying to bake a cake without flour – just not gonna work. Here’s what I usually grab before I even think about taking a cutting:
- Sharp, clean cutting tools: This is non-negotiable. Dull, dirty tools are an invitation for disease. I use pruning shears or a really sharp knife, and I always sterilize them with rubbing alcohol.
- Rooting hormone: This stuff isn’t strictly necessary, but it definitely speeds things up and increases your chances of success. I like to use a powder, but gels and liquids work too.
- Rooting medium: You’ve got options here. I’ve had good luck with perlite, vermiculite, coco coir, and even just plain old potting mix. The key is to make sure it’s well-draining. Soggy roots are no good.
- Containers: Small pots, seedling trays, even yogurt cups – whatever works for you. Just make sure they have drainage holes.
- Spray bottle: For misting your cuttings. Humidity is your friend.
- Plastic bags or a humidity dome: To keep that humidity up. You can even use a clear plastic container with a lid.
Creating an optimal environment
Now that you’ve got your supplies, it’s time to think about where your cuttings are going to live. They need a spot that’s bright but not too sunny. Direct sunlight will scorch them. An east-facing window is usually perfect.
Temperature is also important. Aim for something around 65-75°F (18-24°C). A heat mat can help if your house is on the cooler side. And remember that humidity we talked about? Keep those cuttings nice and moist by misting them regularly and keeping them covered. I’ve found that a little extra effort here really pays off in the long run. It’s like giving your little plant babies a cozy spa day, every day!
Caring for your cuttings during rooting
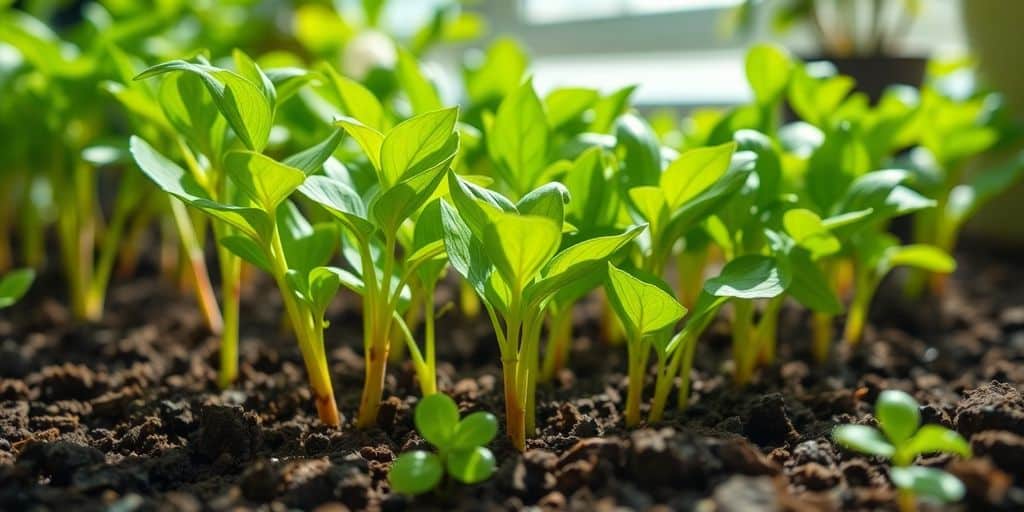
Monitoring growth and conditions
Alright, so you’ve got your cuttings prepped and planted – now comes the part where you gotta keep a close eye on ‘em. The key here is consistency and a little bit of patience. I usually check my cuttings every other day, just to make sure everything’s still looking good. Here’s what I’m looking for:
- Moisture Levels: The rooting medium should be consistently moist, but not waterlogged. Think of a wrung-out sponge. If it’s too dry, give it a spritz. Too wet, and you risk rot.
- Humidity: High humidity is your friend. If you’re using a humidity dome or plastic bag, make sure it’s doing its job. If things look a little dry, mist the inside of the dome.
- Signs of Rooting: After a couple of weeks, gently tug on the cuttings. If you feel resistance, that’s a good sign that roots are forming! Don’t get too impatient, though – some plants take longer than others.
- Watch Out for Problems: Keep an eye out for yellowing leaves, mold, or any other signs of trouble. Remove any affected cuttings immediately to prevent the problem from spreading.
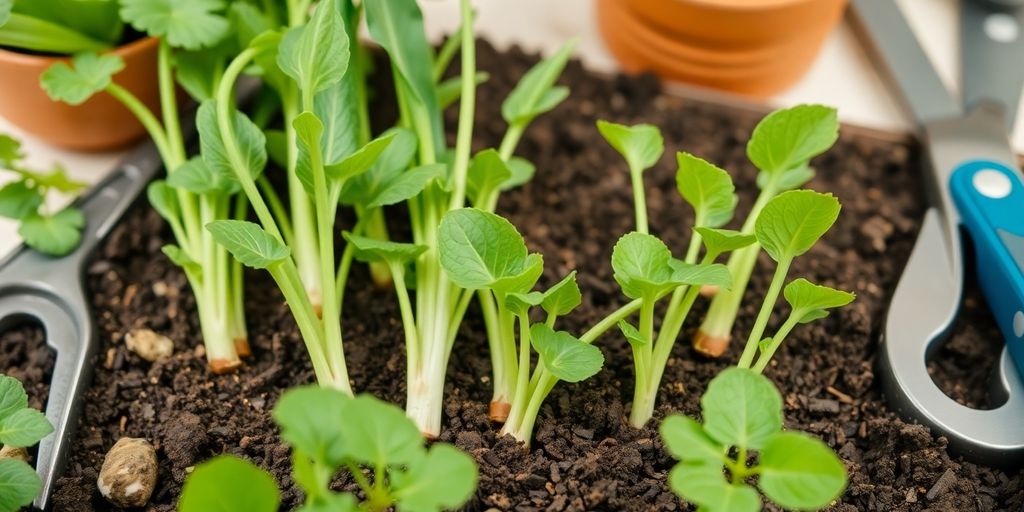
Transplanting rooted cuttings
Once your cuttings have developed a decent root system (usually a couple of inches long), it’s time to move them into their own pots. This is a delicate process, so take your time and be gentle.
- Prepare Your Pots: Fill small pots with a well-draining potting mix. I like to use a mix specifically formulated for seedlings or cuttings.
- Carefully Remove the Cuttings: Gently loosen the rooting medium around the cuttings and carefully lift them out. Try not to damage the roots.
- Plant the Cuttings: Make a small hole in the potting mix and place the cutting in the hole. Gently backfill with soil and lightly pat it down.
- Water and Acclimate: Water the newly transplanted cuttings thoroughly and place them in a spot with bright, indirect light. Gradually acclimate them to more direct sunlight over the next few weeks.
And that’s it! With a little care and attention, you’ll have a whole new batch of plants to enjoy. Happy growing, y’all!
Wrapping up your plant propagation journey
So, there you have it! Propagating plants from cuttings isn’t just a fun project; it’s a great way to expand your garden without spending a ton of cash. By following the steps we talked about—like picking the right plants, taking good cuttings, and keeping them in the right conditions—you’ll be well on your way to growing new greenery.
Remember, patience is key. It might take some time for those roots to show up, but once they do, you’ll feel that sense of accomplishment. Whether you’re just starting out or you’ve been gardening for years, mastering this technique can really boost your skills. So grab those scissors and get started—happy propagating!
Frequently asked questions
What does it mean to propagate plants from cuttings?
Propagating plants from cuttings means taking a part of an existing plant, like a stem or leaf, and using it to grow a new plant. This way, the new plant is just like the original.
What supplies do I need for plant propagation?
You’ll need some basic tools like scissors or pruning shears, clean containers for water or soil, and maybe some rooting hormone to help the cuttings grow roots faster.
How do I know when to transplant my rooted cuttings?
You can transplant your cuttings when they have roots that are about 2-3 inches long. Make sure to use good soil and be gentle when moving them to their new pots.