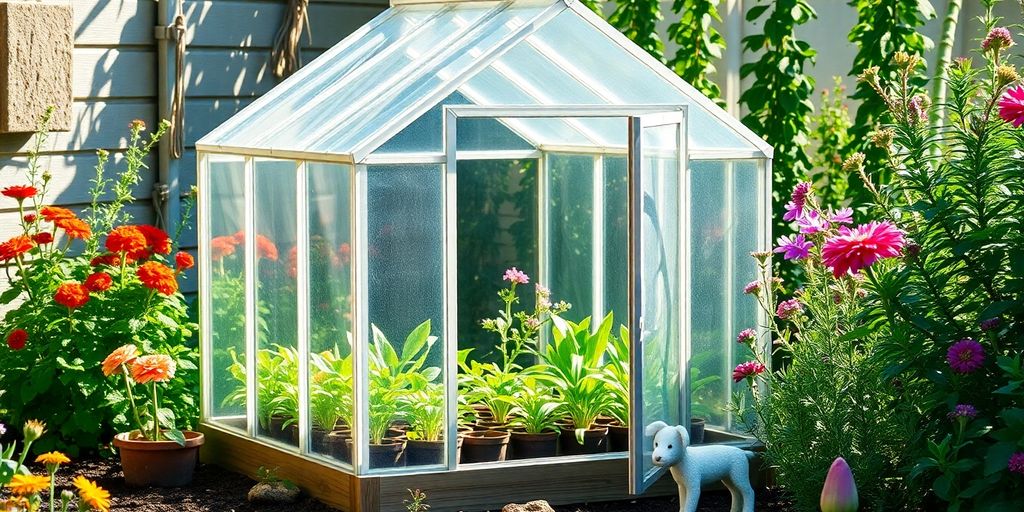
How to set up a mini greenhouse at home for delicate plants is a great way to protect your favorite greenery and help it thrive. Whether you’re a seasoned gardener or just starting out, a mini greenhouse offers a controlled environment that’s both practical and rewarding. It’s a small change that can make a big impact.
Delicate plants often need extra care, especially when temperatures fluctuate or light conditions aren’t ideal. A mini greenhouse lets you take control and provide the perfect setting for growth. Best of all, it’s easier to create than you might think.
You don’t need a huge backyard or expensive equipment to get started. With some basic materials and a little planning, you can build a functional and stylish space for your plants. It’s a smart solution for plant lovers in any home.
Curious about where to begin? In this guide, you’ll discover everything you need to know to build your own mini greenhouse—from choosing the right spot to picking the best materials. Let’s explore how to bring your green vision to life.
Key takeaways
- Pick a sunny spot with some wind protection for your mini greenhouse.
- Use sturdy materials for the frame and clear coverings to let in light.
- Keep an eye on temperature and humidity to ensure your plants stay healthy.
Choosing the right location for your mini greenhouse
Alright, so you’re thinking about setting up a mini greenhouse, huh? Awesome! But before you even start hammering anything together, you gotta figure out where to put the darn thing. Trust me, location is everything. I learned that the hard way when I stuck mine in a spot that got blasted by the afternoon sun – fried my poor seedlings in no time flat. Let’s avoid that, shall we?
Evaluating sunlight exposure
Okay, so sunlight is your plant’s best friend, but too much of a good thing can be a real problem. You’re aiming for a spot that gets a good chunk of sunlight, but not scorching, all-day sun, especially during the hottest part of the day.
I usually recommend an east-facing spot, if you’ve got one. That way, your plants get that gentle morning sun to get them going, but they’re shaded during the afternoon heat. If you only have a south-facing spot, maybe think about using some shade cloth during the summer months. Here’s a quick guide:
- East-facing: Gentle morning sun, ideal for most plants.
- West-facing: Afternoon sun, can get pretty hot.
- South-facing: Lots of sun, might need shading in summer.
- North-facing: Least amount of sun, good for shade-loving plants.
Considering wind protection
Wind can be a real pain, especially for delicate seedlings. It can dry them out super fast, and even knock them over. Try to find a spot that’s sheltered from strong winds.
A spot near a fence, a wall, or even some bigger shrubs can work wonders. Just make sure whatever’s providing the shelter isn’t blocking too much sunlight. I remember one time, I put my greenhouse behind the shed, thinking it was a genius move. Turns out, it was so sheltered that it barely got any sun! So, yeah, balance is key. Here’s what to consider:
- Windbreaks: Fences, walls, and shrubs can help block the wind.
- Airflow: Make sure there’s still some airflow to prevent mold and mildew.
- Stability: Secure your greenhouse so it doesn’t blow away in a storm.
Essential materials for building your mini greenhouse
Alright, so you’re ready to build your own mini greenhouse? Awesome! Let’s talk about what you’ll need. I’ve messed around with a few of these myself, and trust me, having the right stuff makes all the difference. You don’t wanna be halfway through and realize you’re missing something crucial, right?
Selecting the right frame
Okay, the frame is the backbone of your whole operation. You want something sturdy enough to withstand the elements, but also not so heavy that it’s a pain to move around. I’ve seen folks use everything from wood to PVC pipes, and even metal.
Wood looks nice and can be pretty durable if you treat it right. Cedar is a good choice ‘cause it resists rot. PVC is cheap and easy to work with, but it can get a little flimsy, especially in strong winds. Metal is super strong, but it can also be more expensive and harder to cut and assemble. Here’s a quick rundown:
- Wood: Looks great, can be durable, but needs treatment to prevent rot.
- PVC: Cheap and easy to work with, but not the sturdiest option.
- Metal: Very strong, but can be pricier and harder to work with.
Choosing appropriate covering
Now, for the covering, you’ve got a few options here too. Plastic sheeting is probably the most common because it’s cheap and easy to find. But it can tear pretty easily, especially if you live in an area with crazy weather. Polycarbonate panels are a step up – they’re more durable and offer better insulation.
Glass is another option, but it’s heavier and can be dangerous if it breaks. I personally like using reinforced polyethylene film; it’s a good balance of durability and cost. Whatever you pick, make sure it lets in plenty of light for your plants. Here’s a quick comparison:
| Material | Pros | Cons |
|---|---|---|
| Plastic Sheeting | Cheap, easy to find | Tears easily, not very durable |
| Polycarbonate Panels | More durable, better insulation | More expensive than plastic sheeting |
| Glass | Good light transmission | Heavy, can be dangerous if broken |
| Reinforced Polyethylene Film | Durable, good balance of cost and performance | Might not last as long as polycarbonate or glass in extreme conditions |
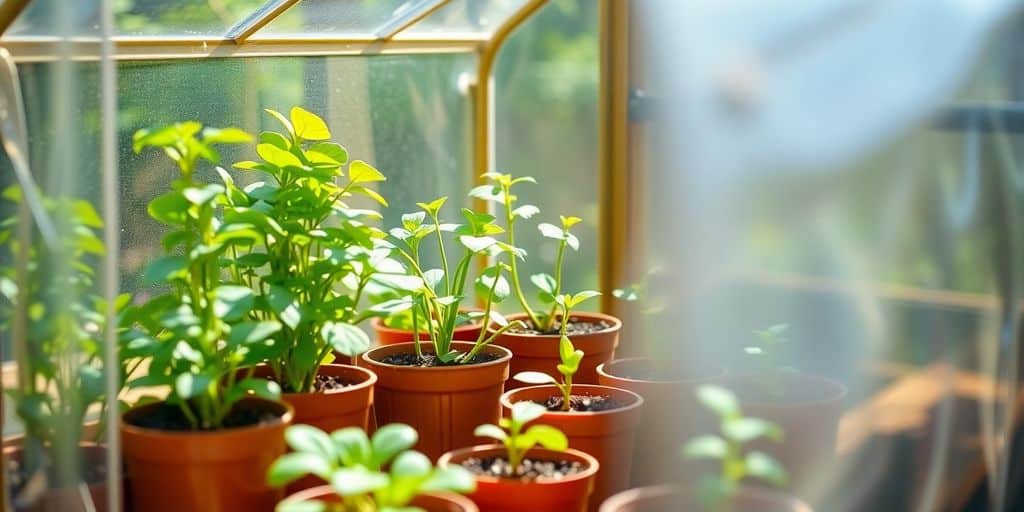
Maintaining optimal conditions for delicate plants
Okay, so you’ve got your mini greenhouse set up. Now comes the part where you actually keep your plants alive and thriving! It’s not rocket science, but it does take a little attention. I’ve learned a thing or two over the years, and let me tell you, a little effort goes a long way.
Managing temperature and humidity
This is probably the trickiest part, to be honest. Keeping the temperature and humidity just right can feel like a constant balancing act. Too hot, and your plants will bake. Too cold, and they’ll shiver (okay, maybe not shiver, but you get the idea).
And humidity? Well, that’s a whole other ball game. Too much, and you’re inviting mold and mildew to the party. Too little, and your plants will dry out faster than a puddle in the Texas sun.
Here’s what I’ve found works:
- Ventilation is key: Open those vents on warmer days to let out some of that built-up heat. A small fan can also help circulate the air.
- Shade cloth is your friend: If the sun’s beating down like crazy, a shade cloth can make a huge difference. It’ll diffuse the light and keep things from getting too toasty.
- Monitor, monitor, monitor: Get yourself a cheap thermometer/hygrometer combo and keep an eye on things. Knowledge is power, y’all.
Watering techniques for mini greenhouses
Watering in a mini greenhouse is different than watering outdoor plants. Because it’s an enclosed environment, things don’t dry out as quickly. Overwatering is a super common mistake, and it can lead to root rot and other nasty problems. I’ve definitely been there, done that, got the t-shirt.
Here’s my watering routine:
- Check the soil: Before you even think about watering, stick your finger in the soil. If it feels moist an inch or two down, hold off.
- Water deeply, but infrequently: When you do water, give your plants a good soak. You want the water to reach the roots. But then, let the soil dry out a bit before watering again.
- Consider bottom watering: Place your plants in a tray of water and let them soak it up from the bottom. This encourages root growth and helps prevent fungal diseases.
- Use a watering can with a long spout: This gives you more control and helps you avoid splashing water on the leaves, which can also lead to problems.
Wrapping It Up
So, there you have it! Setting up a mini greenhouse at home is not just doable, but it can be a rewarding experience. Whether you’re trying to grow delicate plants or just want to extend your gardening season, a mini greenhouse can make a big difference.
Remember to choose the right spot, pick a design that fits your space, and keep an eye on the temperature and humidity. With a little effort and care, you’ll be on your way to nurturing a thriving garden right at home. Happy gardening!
Frequently asked questions
What is a mini greenhouse and why should I have one?
A mini greenhouse is a small structure that helps plants grow better by protecting them from bad weather and pests. It creates a warm and cozy space for your plants, making it easier to grow them at home.
How do I choose the right spot for my mini greenhouse?
Look for a place that gets a lot of sunlight, like the east or west side of your house. You also want to make sure it’s protected from strong winds, which can damage your plants.
What materials do I need to build my mini greenhouse?
You can use wood or metal for the frame and clear plastic or glass for the covering. Make sure the materials are sturdy enough to last through different weather conditions.